Parts we've madeExample jobMT-000008

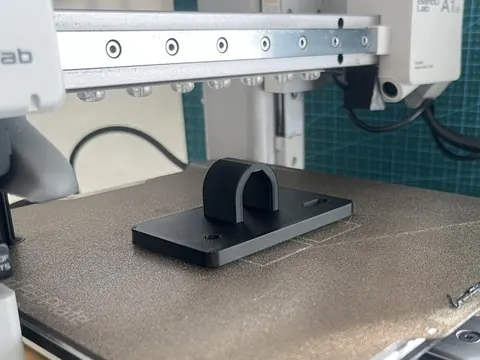
A cable guide for an old machine.

One small plastic part can keep a whole packaging line stopped. Here's how we'd make it, and how we made it better.

Example job: the machine is made up to show how we work. The part, the prints and the fix are real.

Timelapse: all 125 layers of rev B, in 14 seconds. No sound.
Material
Black PLA
Print time
About 35 min Slicer estimate
Revisions
2 (A, then B)
Made on
Bambu Lab A1 mini

The job

From the problem to the part.

The problem

Say an older packaging line is held up by one small plastic part: the guide that keeps a sensor cable clear of the belt. Say it's long out of production, and the maker only sells the whole assembly.

What we made

We drew one from scratch to match the mounting holes and the cable's position: a flat foot with one round and one slotted hole for a bit of adjustment, and a loop that holds the cable clear of the belt.
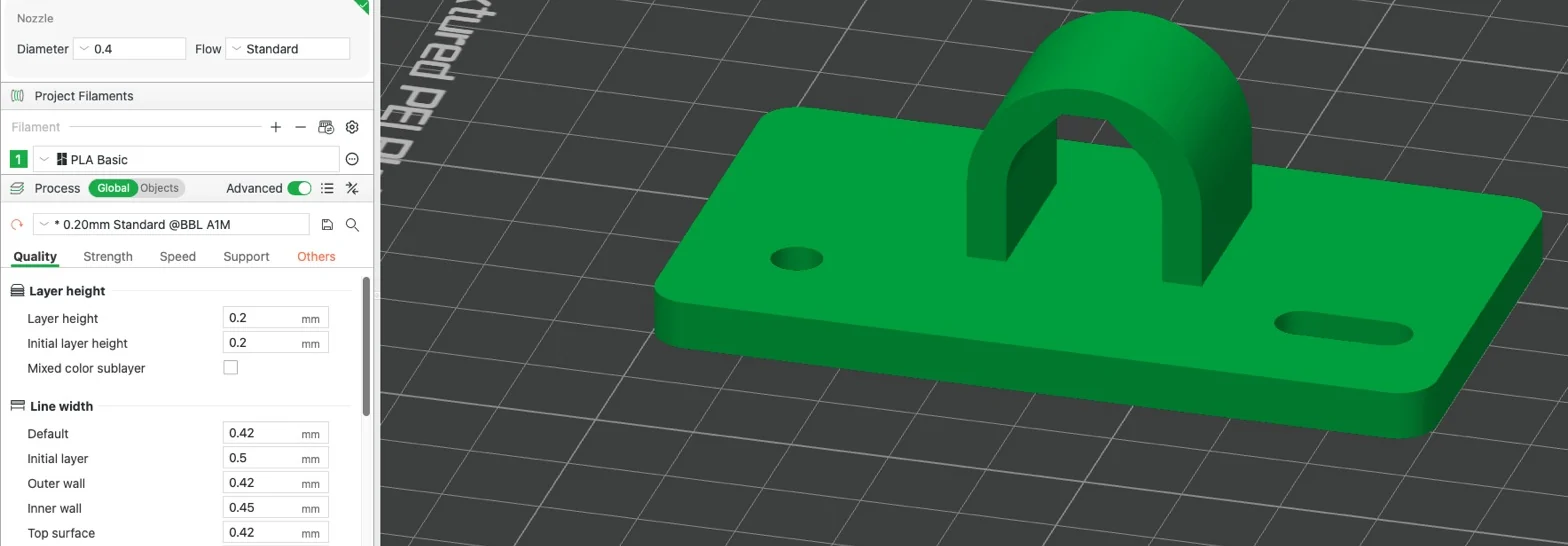
Screenshot of the slicer software with rev B of the cable guide on the build plate: a flat foot with a round hole and a slotted hole, and an arched loop in the middle. Part of the print settings panel shows on the left.
Rev B on the build plate in our slicer, Bambu Studio, at 0.2 mm layers. The slicer shows it in green; we printed it in black PLA. Tap to enlarge.

What we changed

The first print worked, but the flat top of the loop sagged a little where it spanned open air. Rev B swaps it for a peaked arch that holds its shape as it prints, with no supports. Rev B also moved from PETG to PLA, so both changes played a part: the PLA is why there are no strings.

We keep every revision on file, so the next one is made the same way.
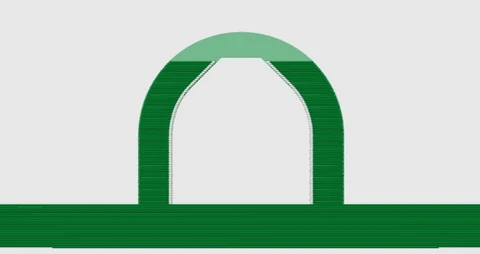
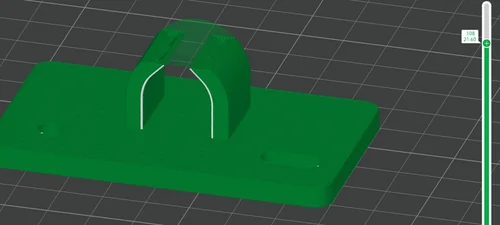
Slicer preview of rev B seen end-on, stopped at layer 108. The inside of the loop rises straight, then the sides lean in to a peak. The pale band on top is the part still to print.
Rev B end-on in the slicer, stopped at layer 108. The sides lean in so each layer sits on the one below. The pale band is still to print.
Before and after, 16 s. Rev A (grey PETG, flat top) and rev B (black PLA, arched top) printing side by side. Same part, two changes: the shape and the material.

Slicer, then printer

Layer by layer.

Before printing, we step through the layers in the slicer.
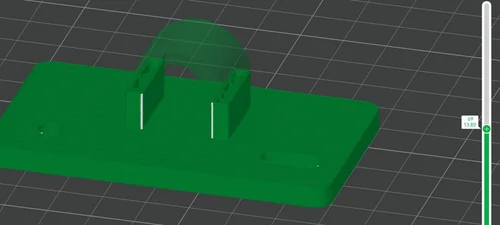
Slicer preview stopped at layer 69: the foot is done and the two straight sides of the loop are halfway up, with the rest of the arch shown faintly above.
Slicer · layer 69 of 125 · The straight sides are going up
Slicer preview stopped at layer 108: the sides of the loop now lean in towards each other, nearly meeting at the top.
Slicer · layer 108 of 125 · The sides lean in to form the arch

Then on the printer:

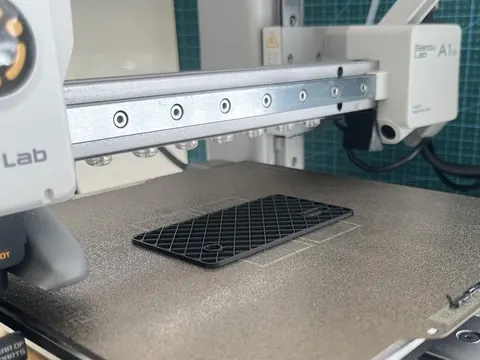
  1. The first layers of the foot on the build plate.Layer 8 · the foot
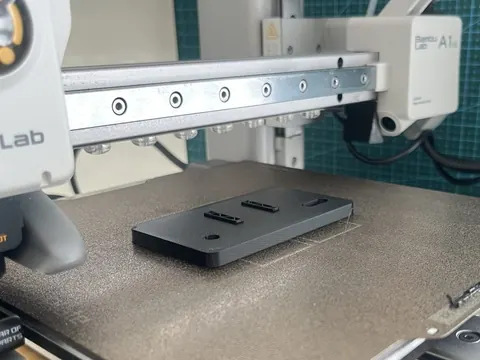
  2. The foot finished and the sides of the loop starting.Layer 30 · the sides
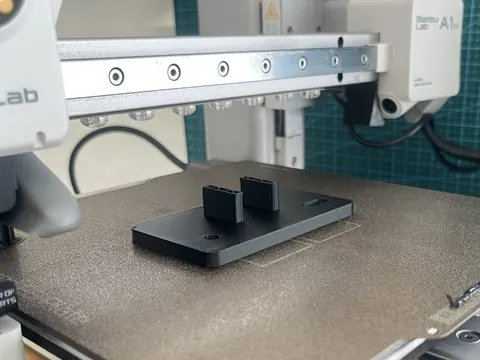
  3. The arch of the loop closing in.Layer 80 · the arch
  4. The finished cable guide on the plate.Layer 125 · done

Got a part nobody makes any more?

Send us a photo and a few words. That's enough to start.

Get in touch